Zoom embed documentation
1) Navigate to your account
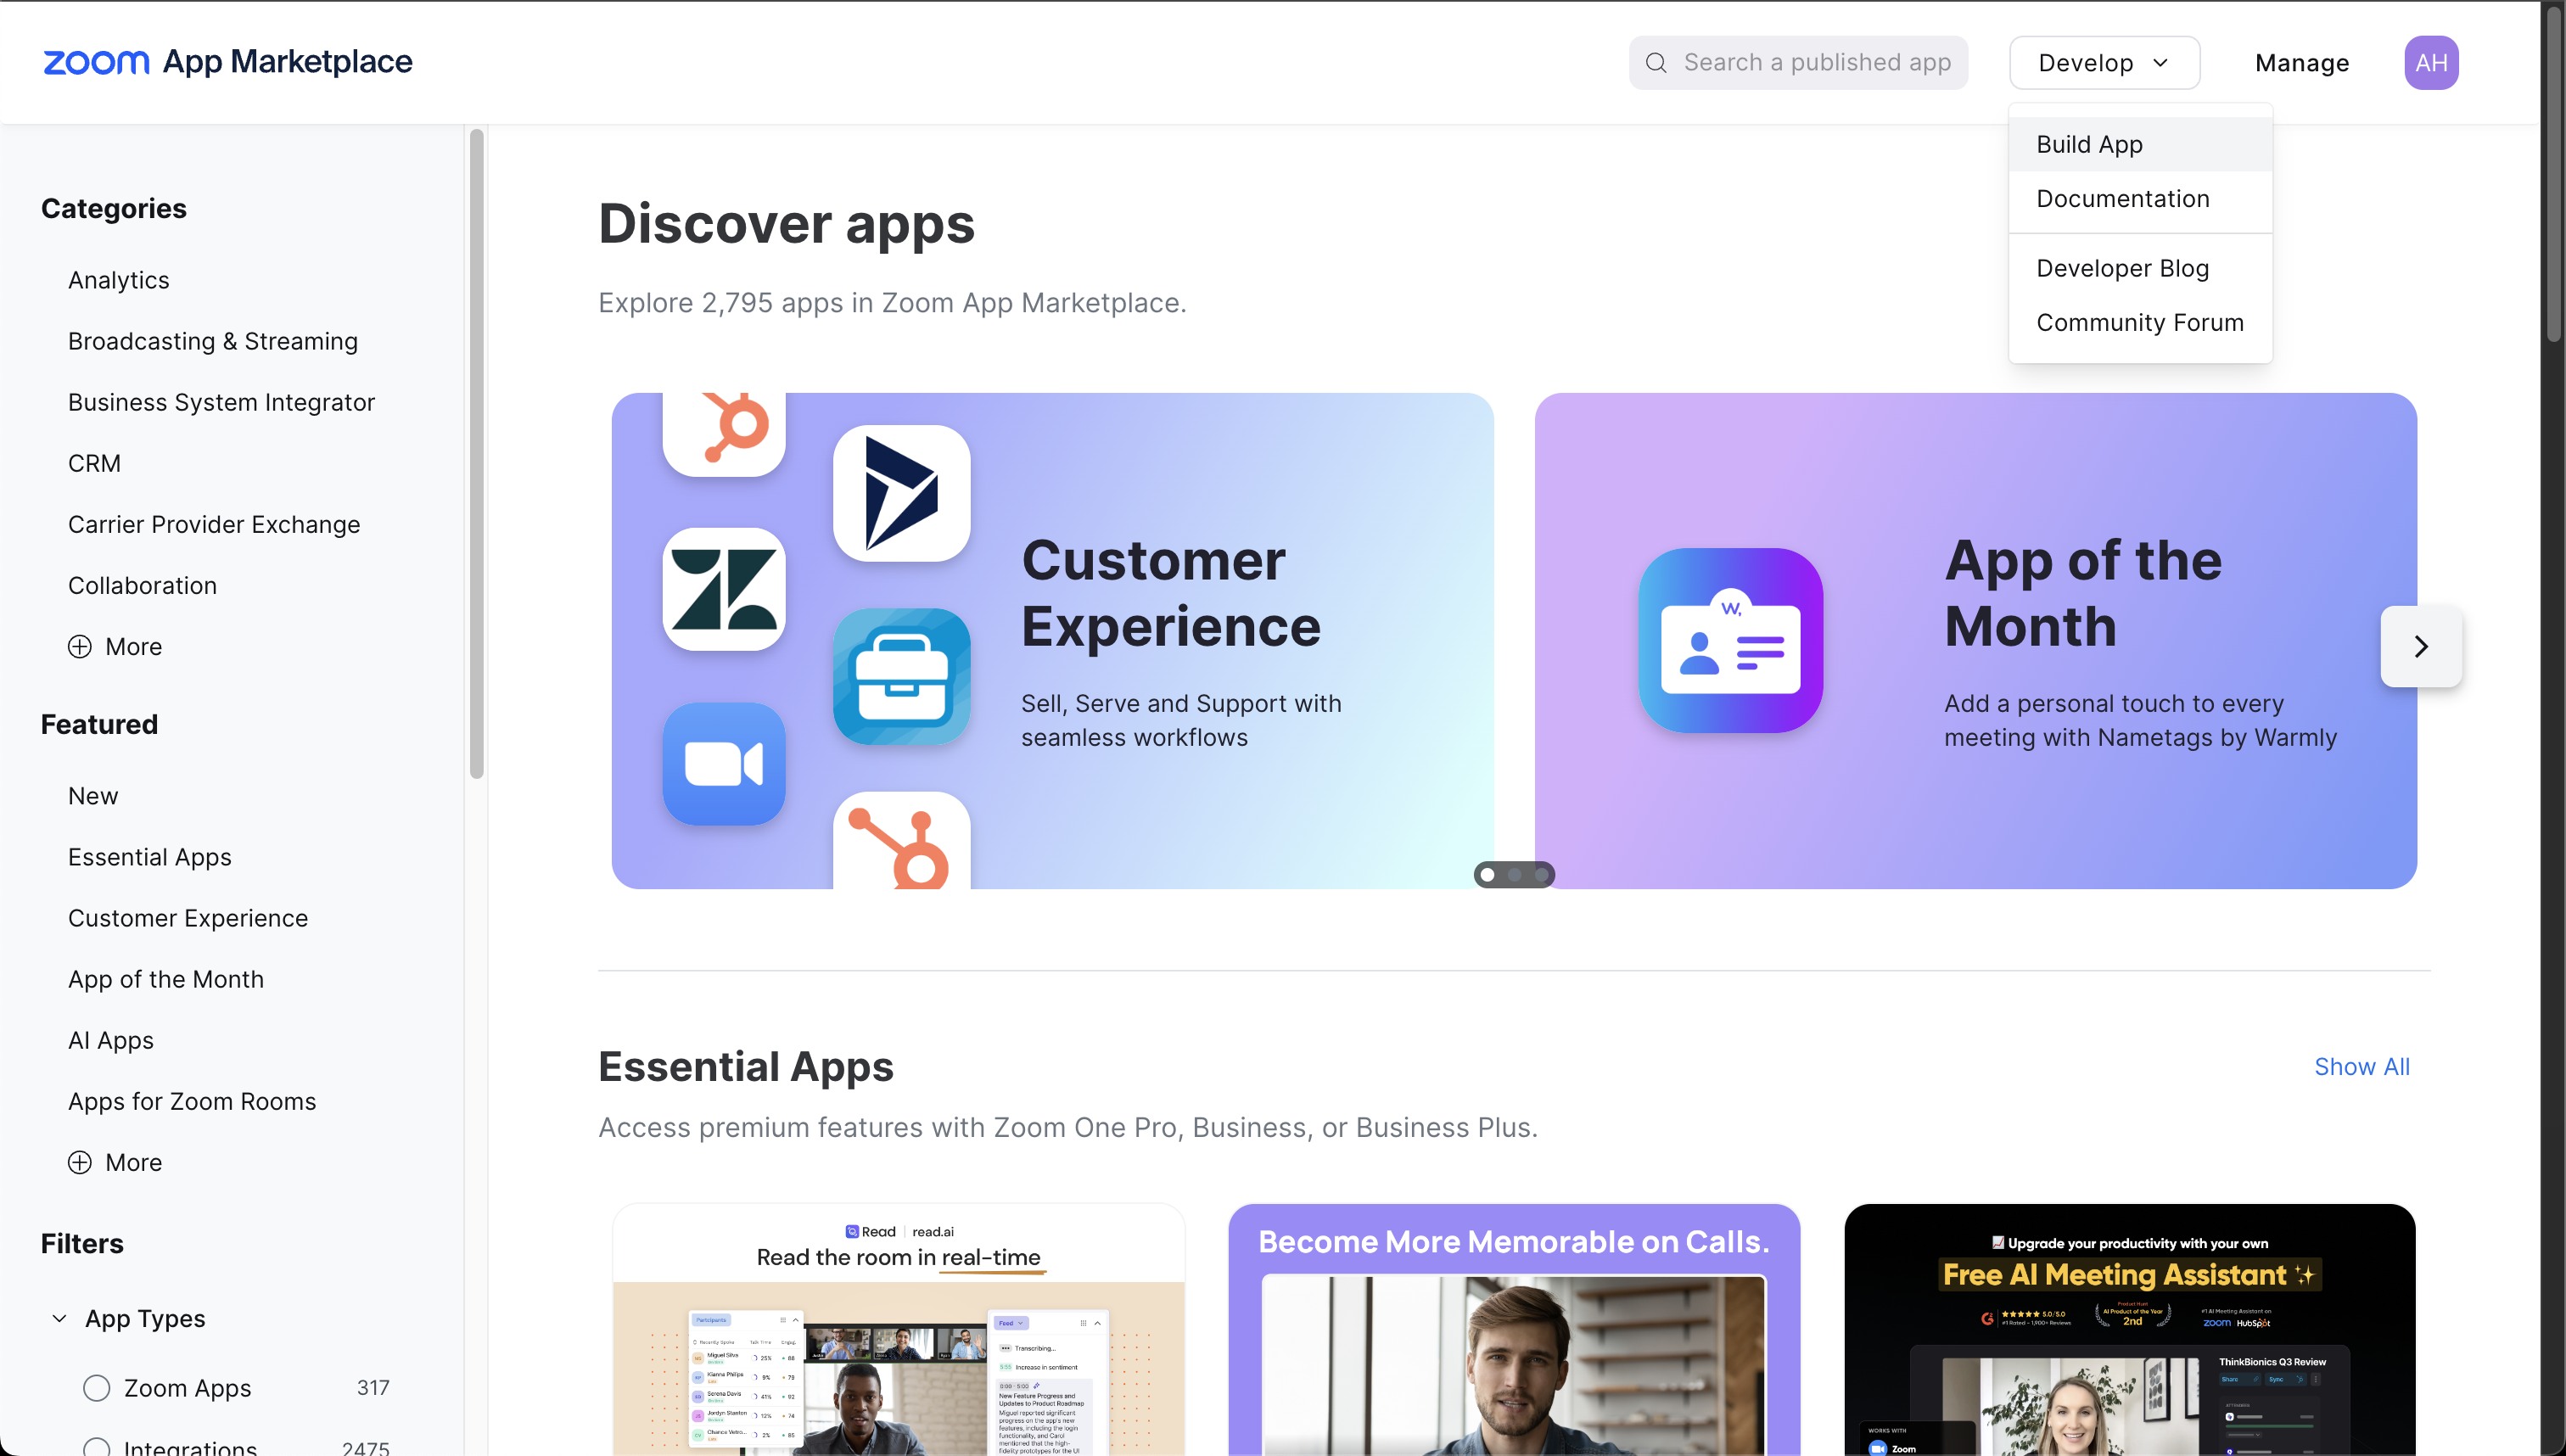
To connect to zoom in the votingapp, 2 apps are necessary to be set up in the zoom marketplace. Navigate to marketplace.zoom.us and login to your account. Click on 'Build App' to get started.
2) App 1: Configure a General App
Select 'General App' and click ‘create’ to get started.
On the first page almost nothing needs to change. The ID and secret can be retrieved later. ‘OAuth redirect url’ should be the home page to your company, it’s where people will be redirected after initially clicking the link to accept the app.
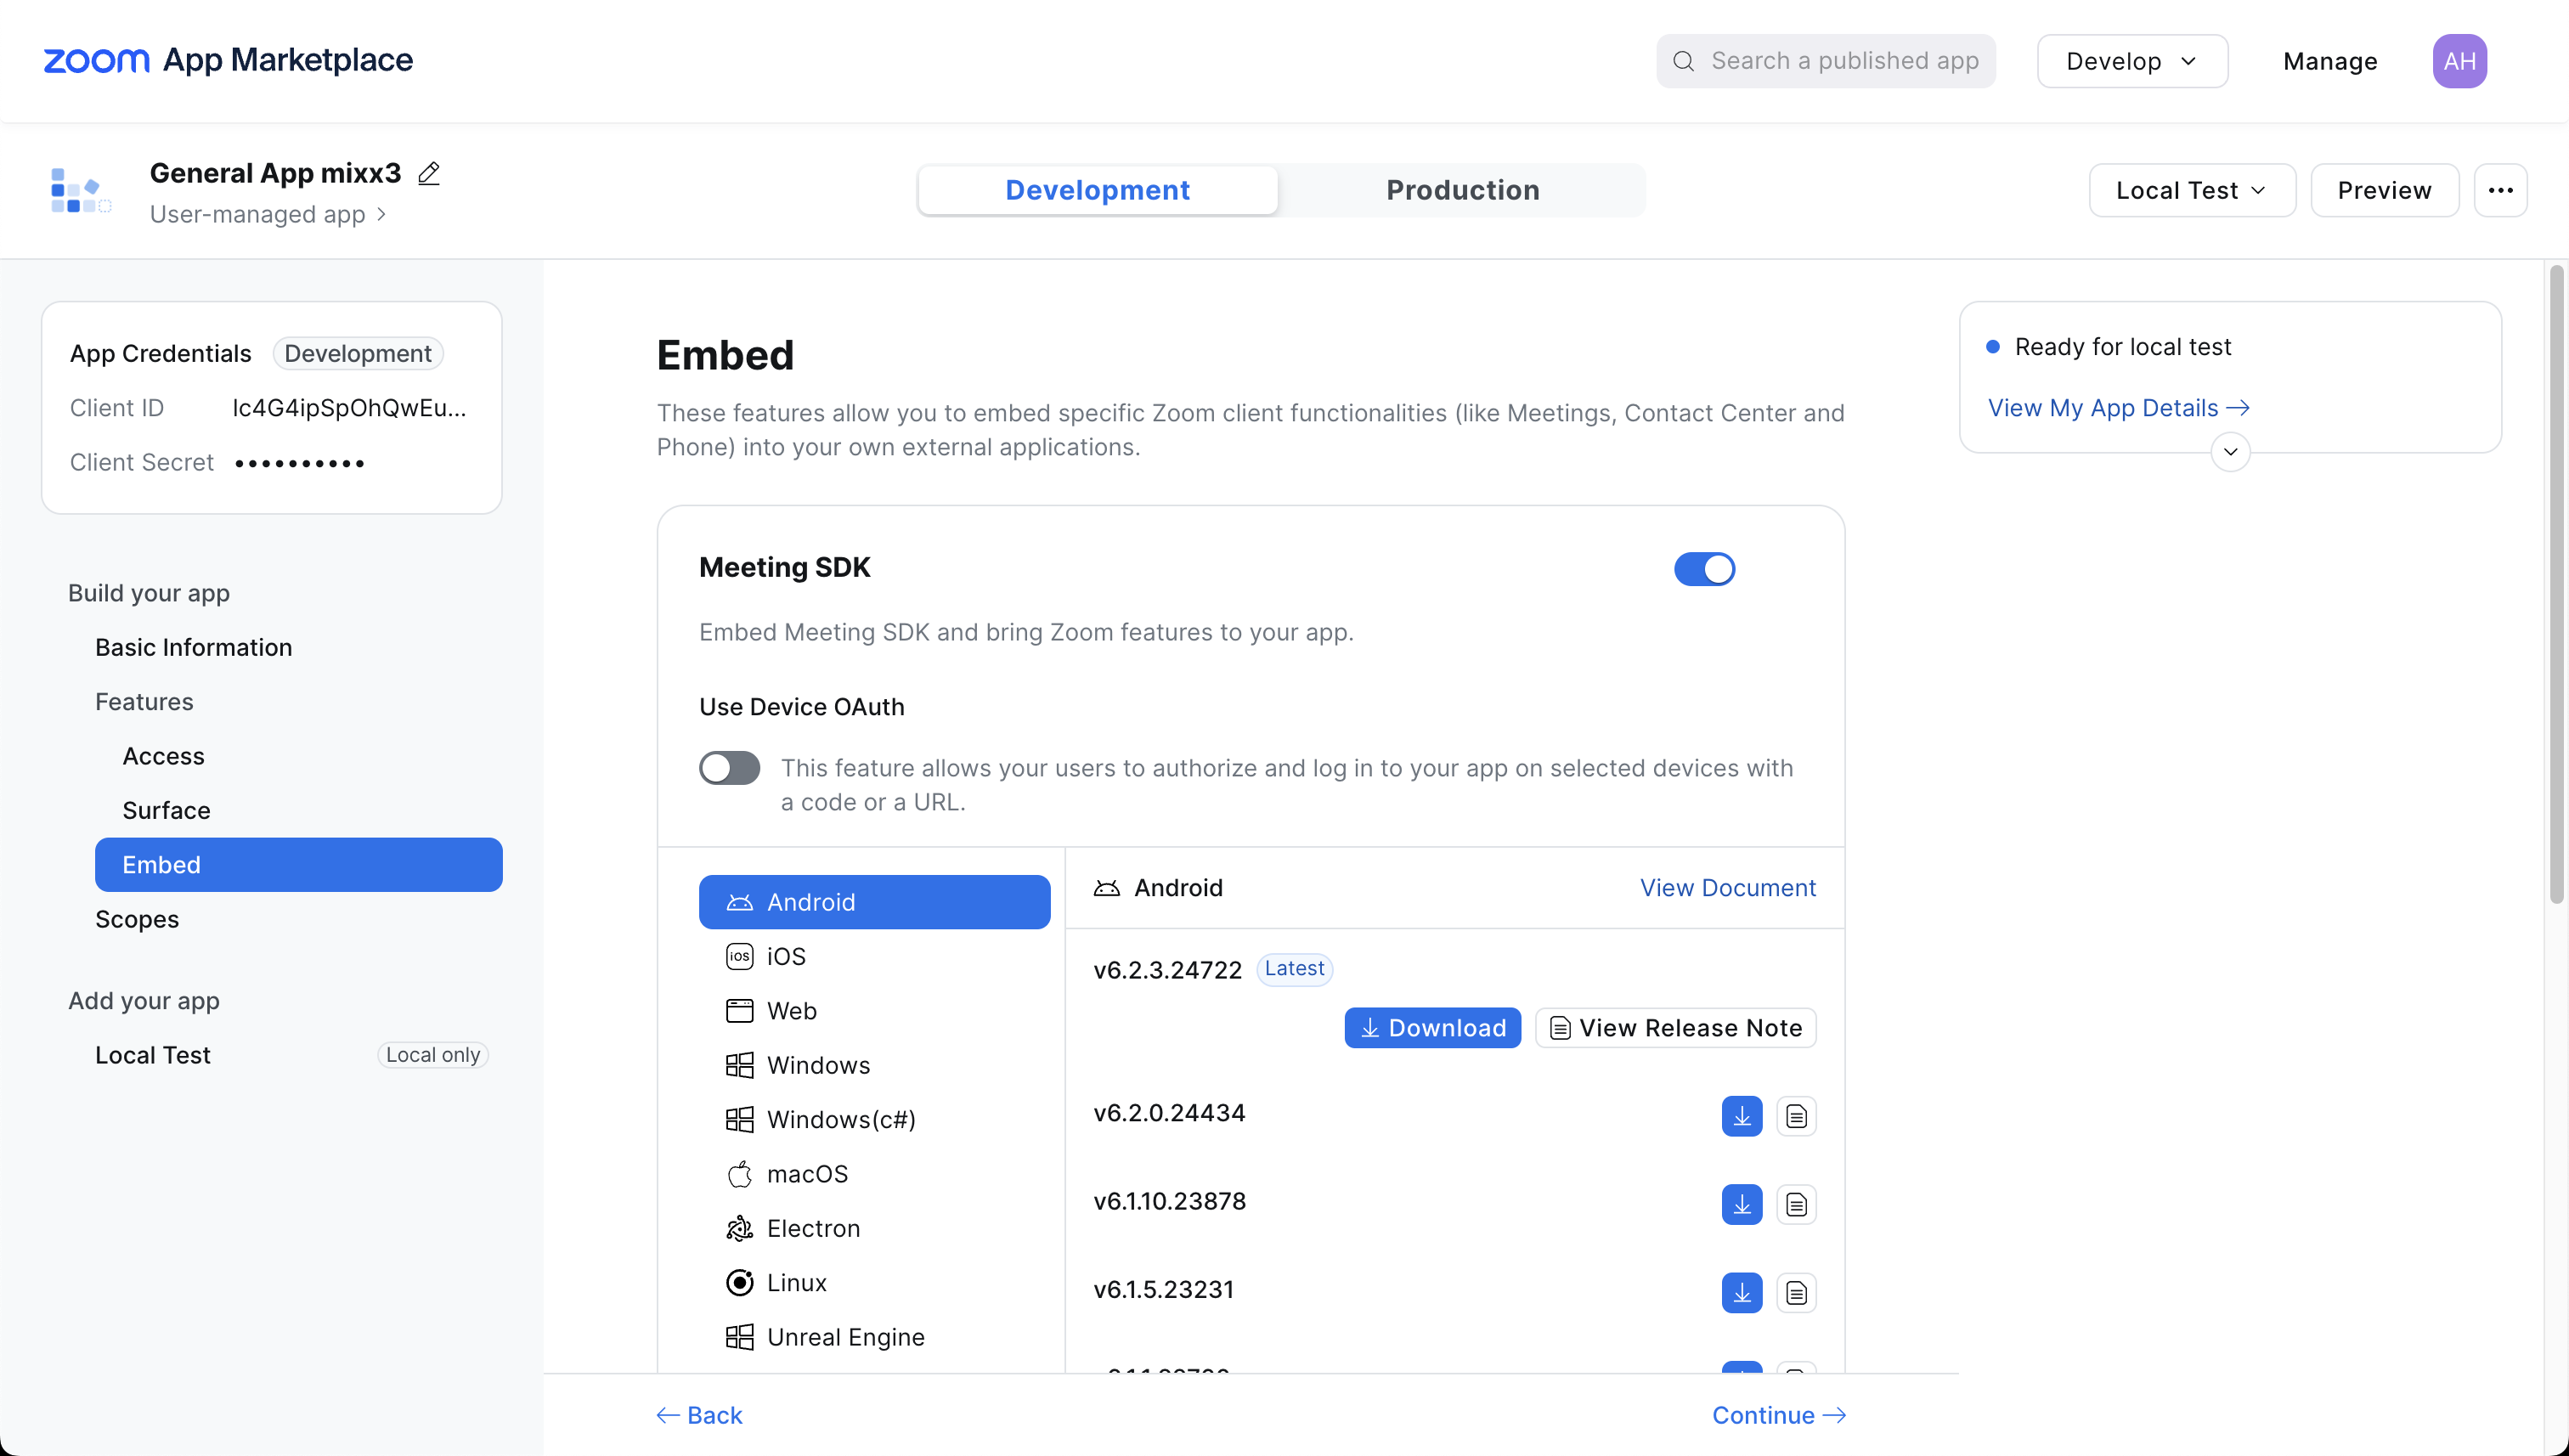
Press ‘continue’ and press ‘continue’ again, until you are at the tab ‘Embed’. Here, enable 'Meeting SDK'. Press continue.
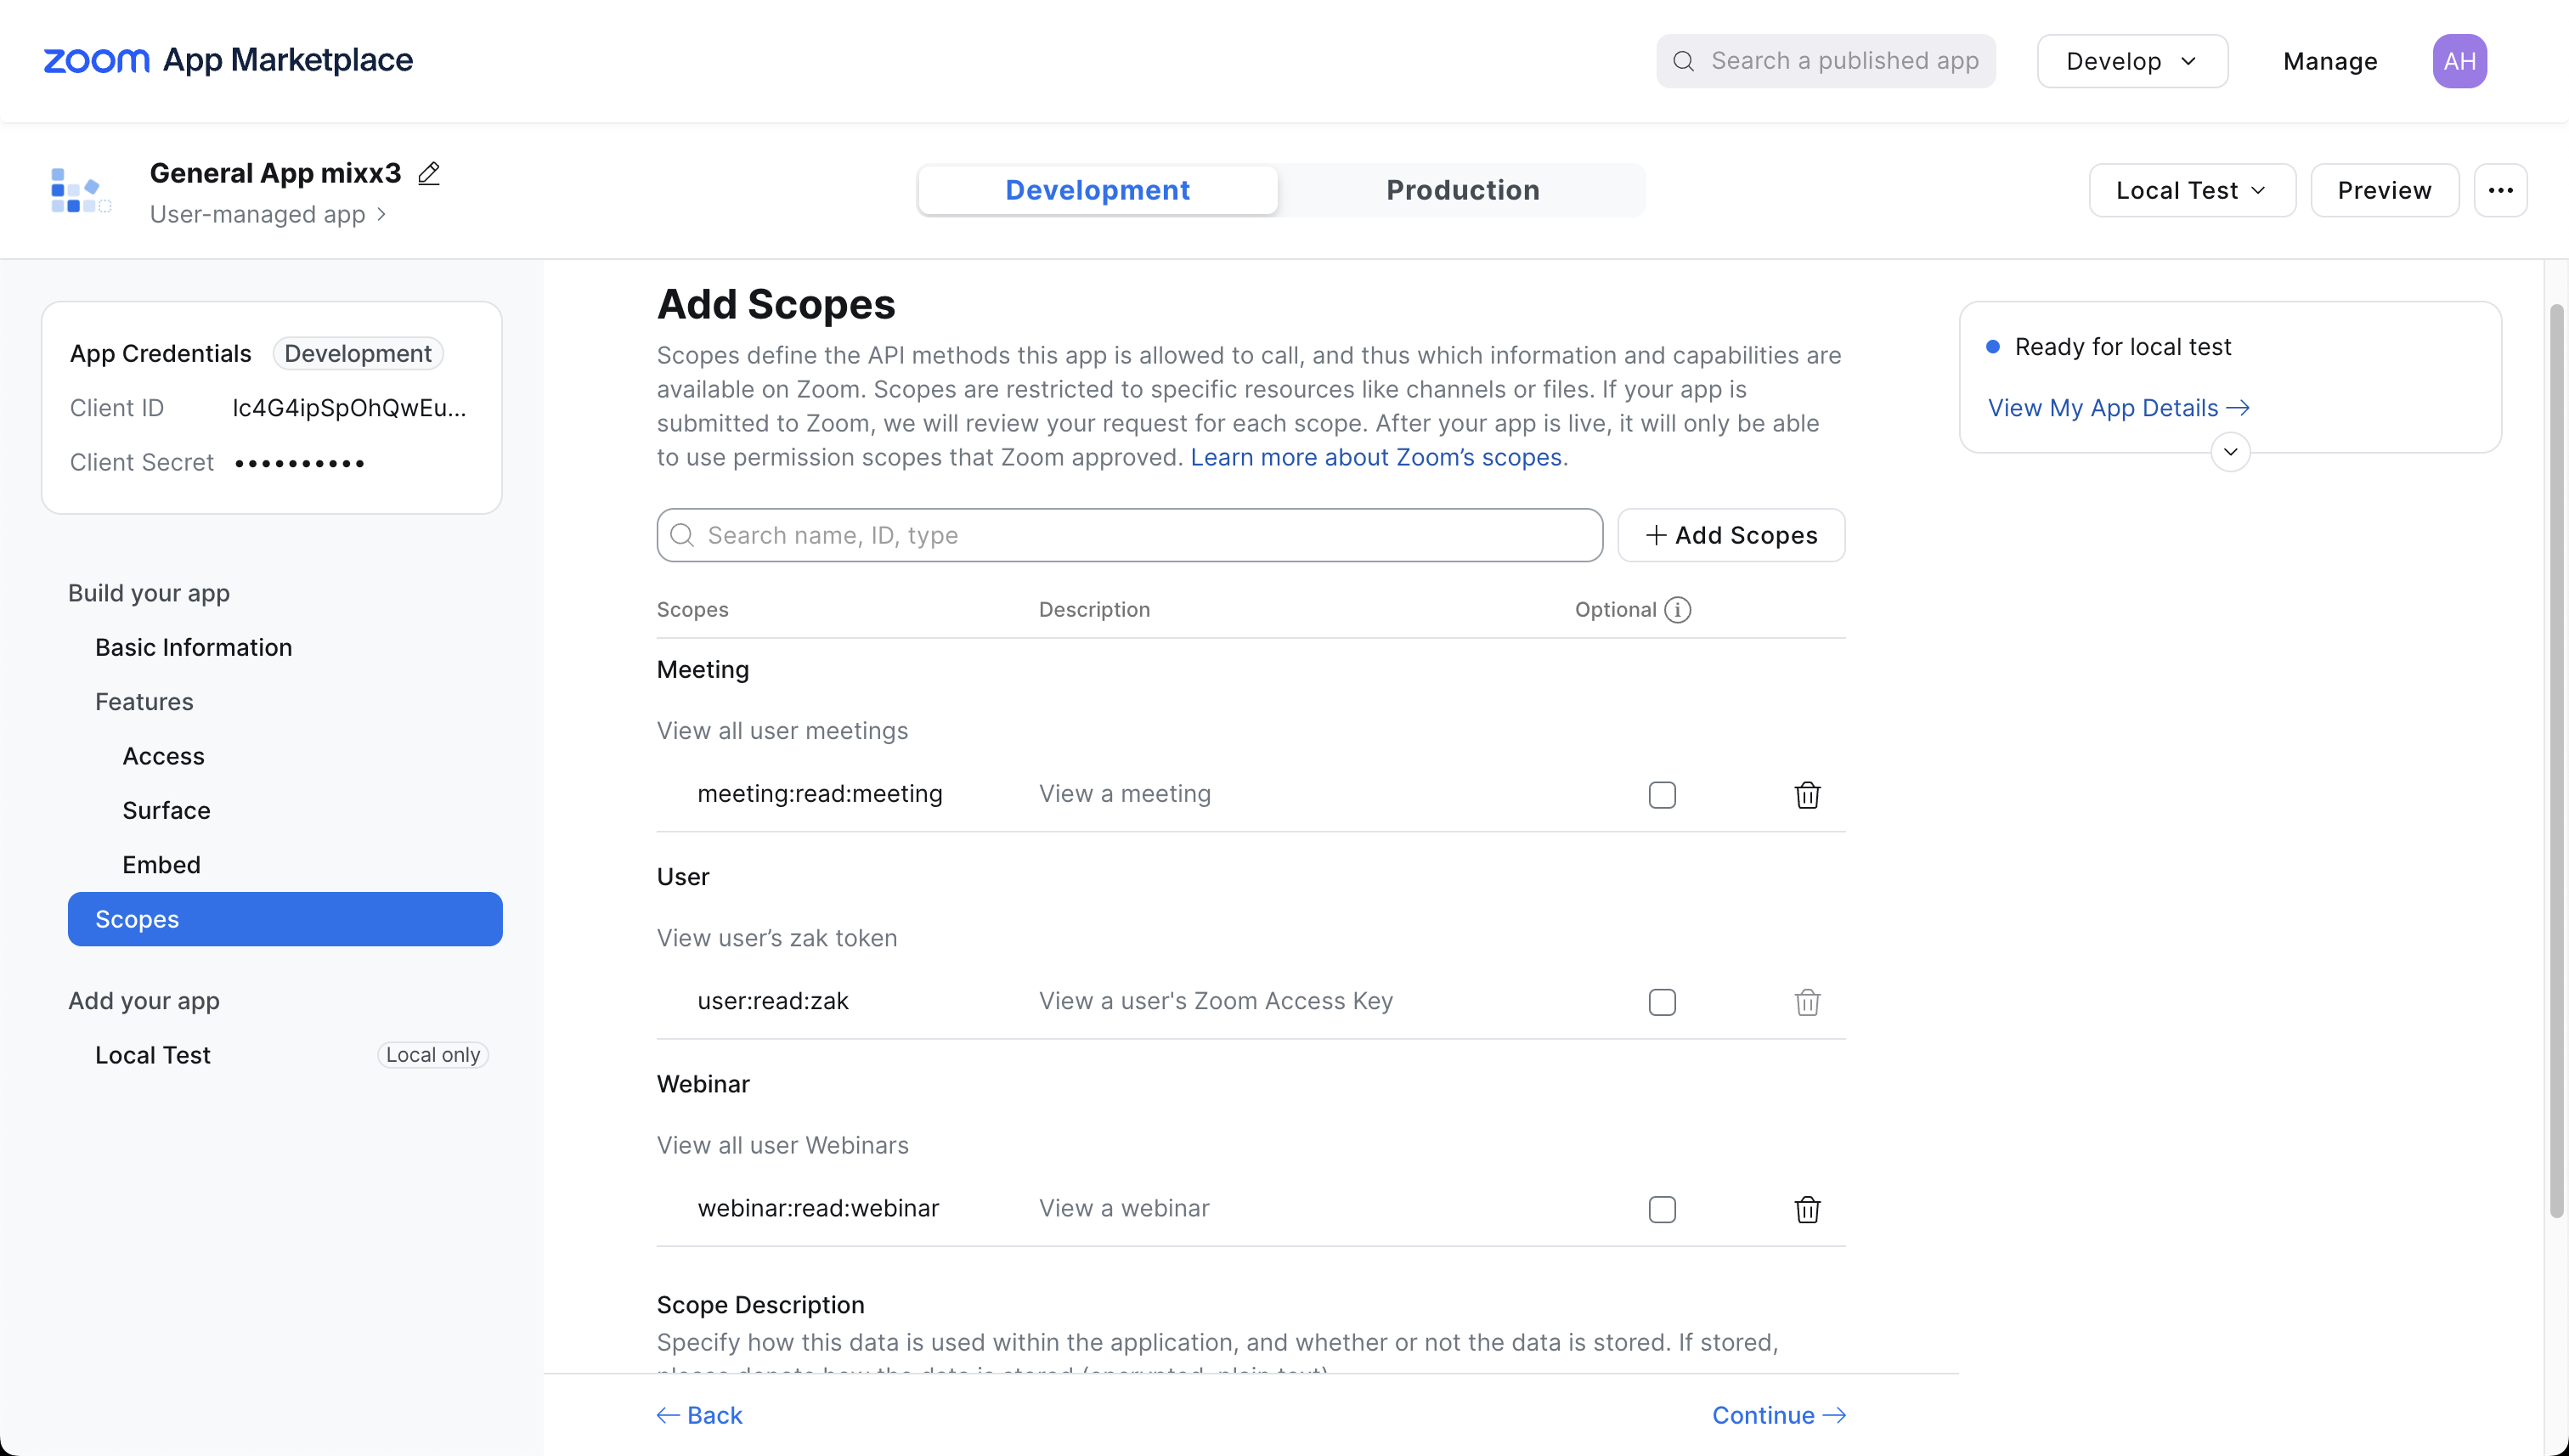
On the 'Scopes' page, click on ‘+ Add scopes’. The scopes need to be:
- meeting:read:meeting
- user:read:zak
webinar:read:webinar
Click continue.
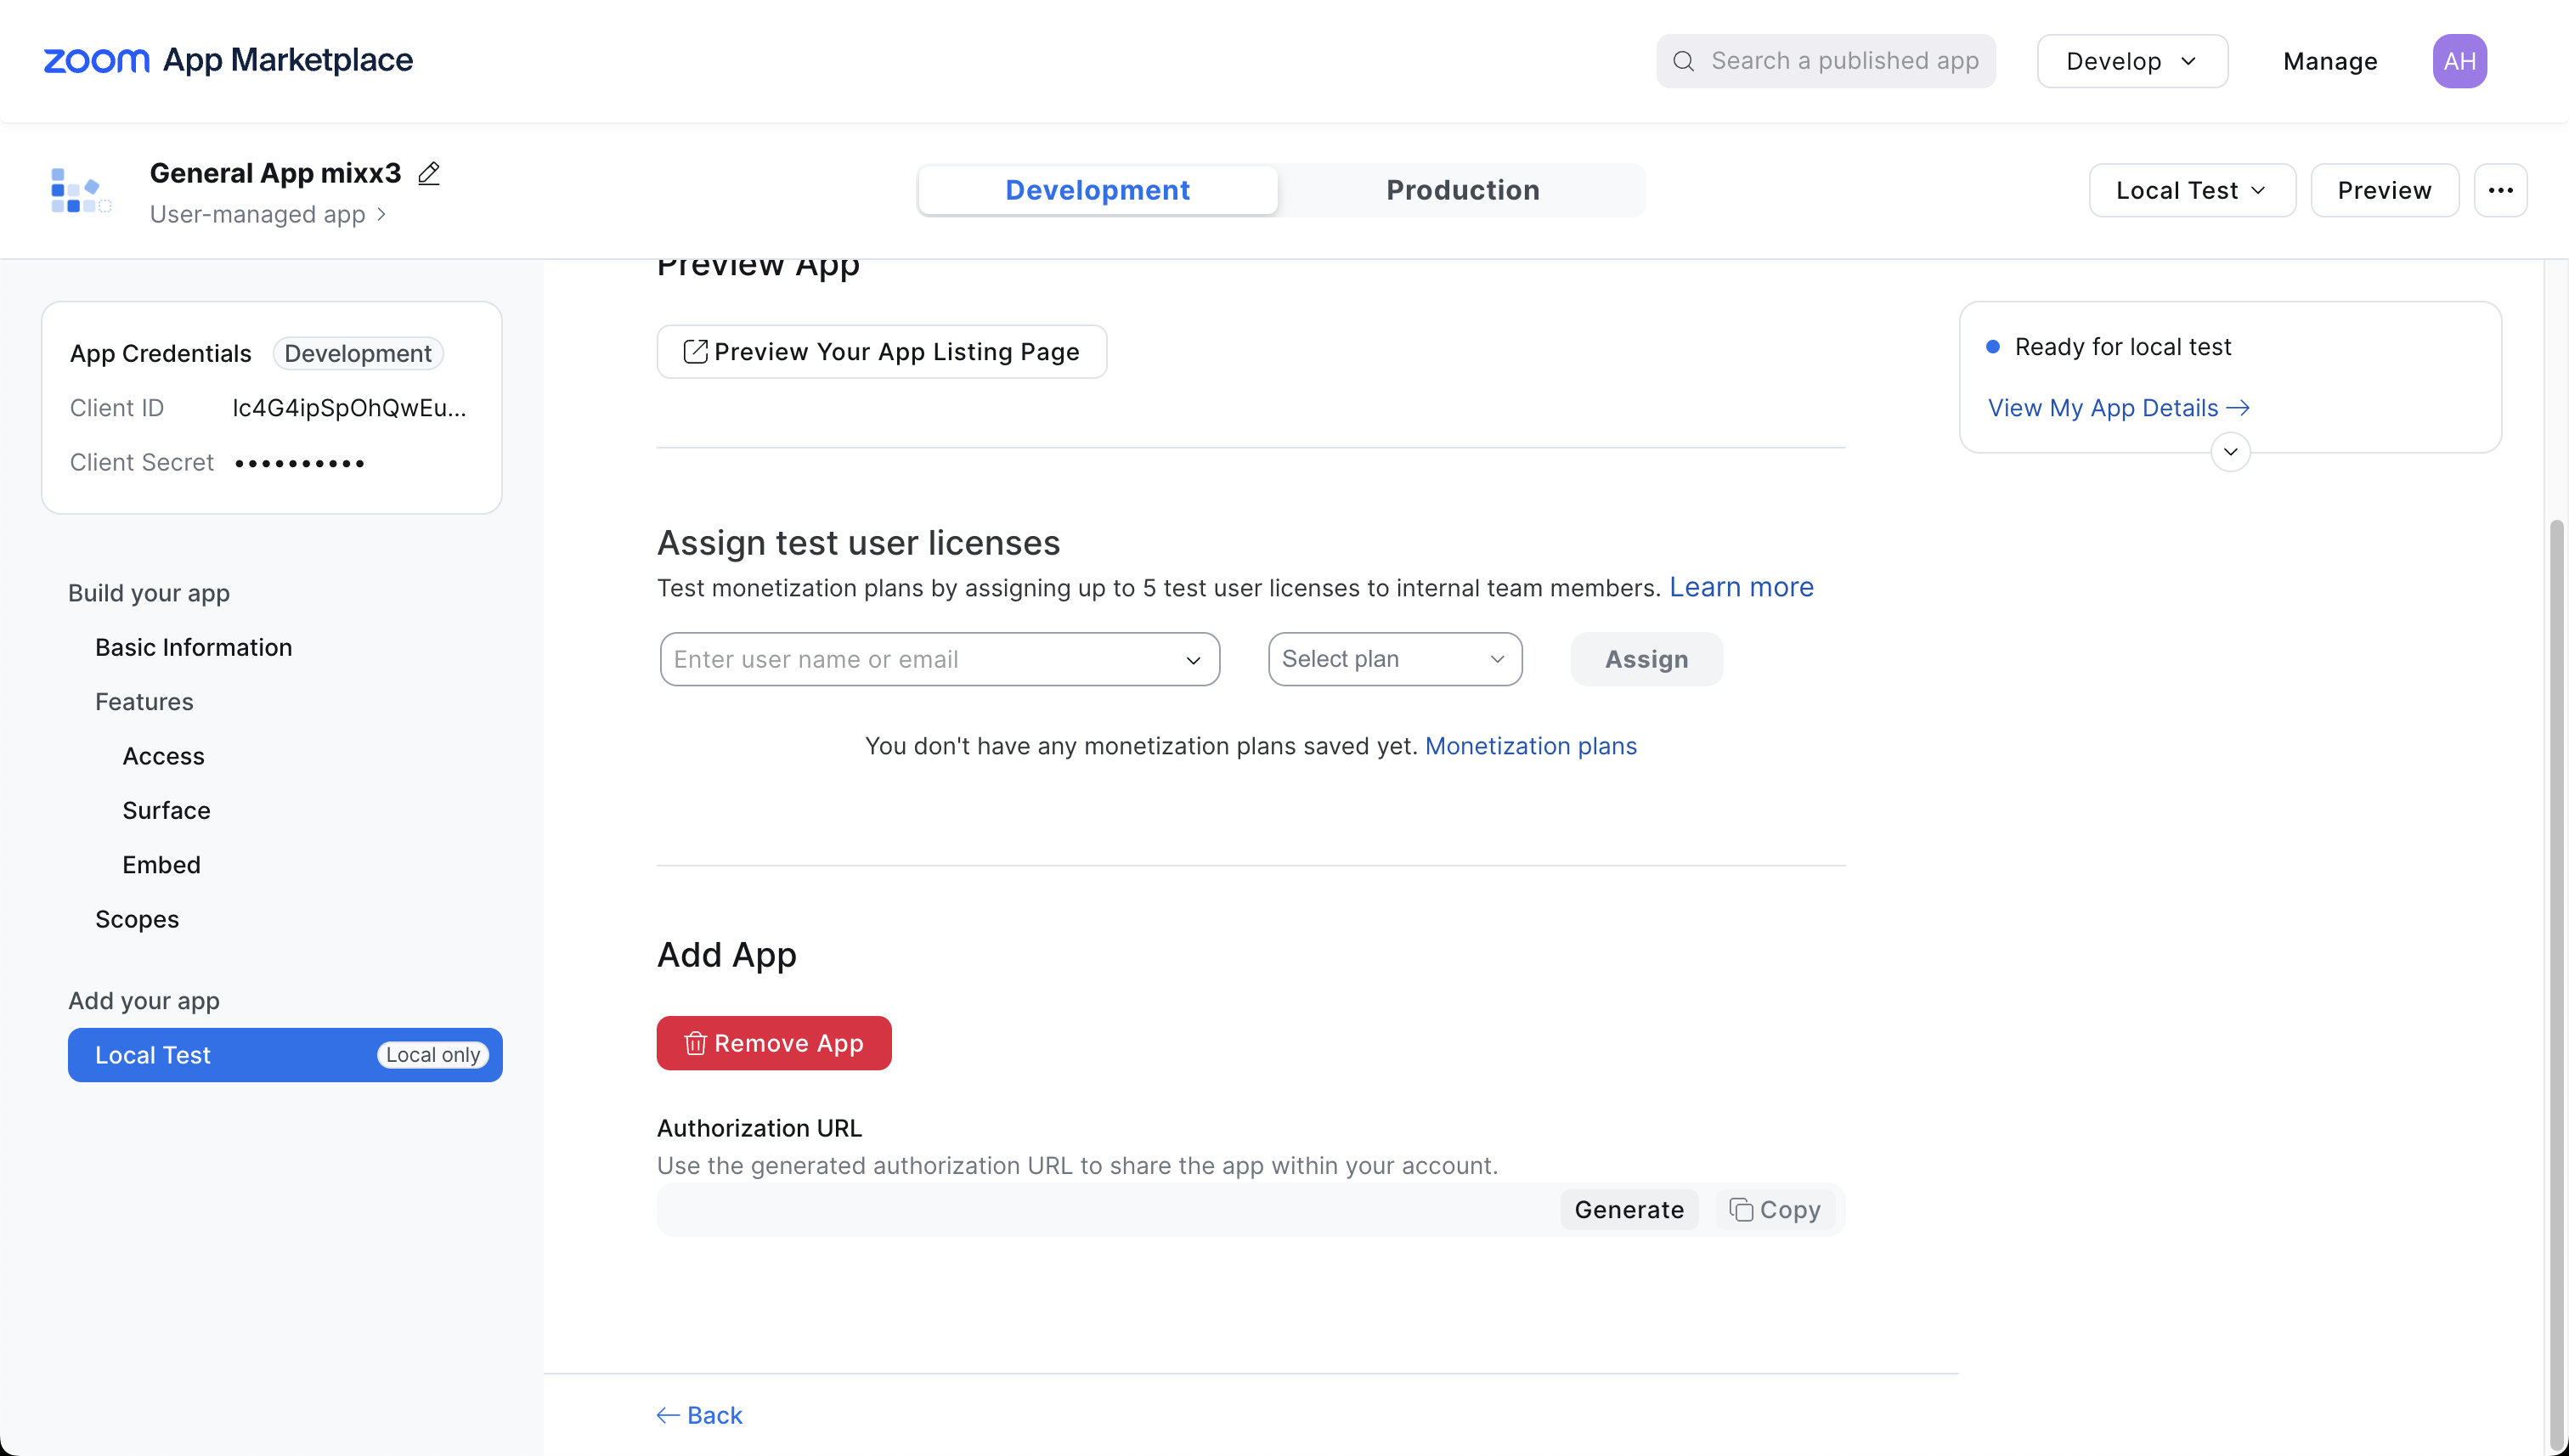
 On the last page 'Local Test' press 'Generate' in the textarea. A blue button 'Add App Now' will appear. This will open a new tab in your browser, accept the permissions.
The first part is now configured.
3) App 2: Configure a server-to-server App
At the top right, click on 'Build App' again. This time, select 'Server-to-Server OAuth App'. Your should now see this screen.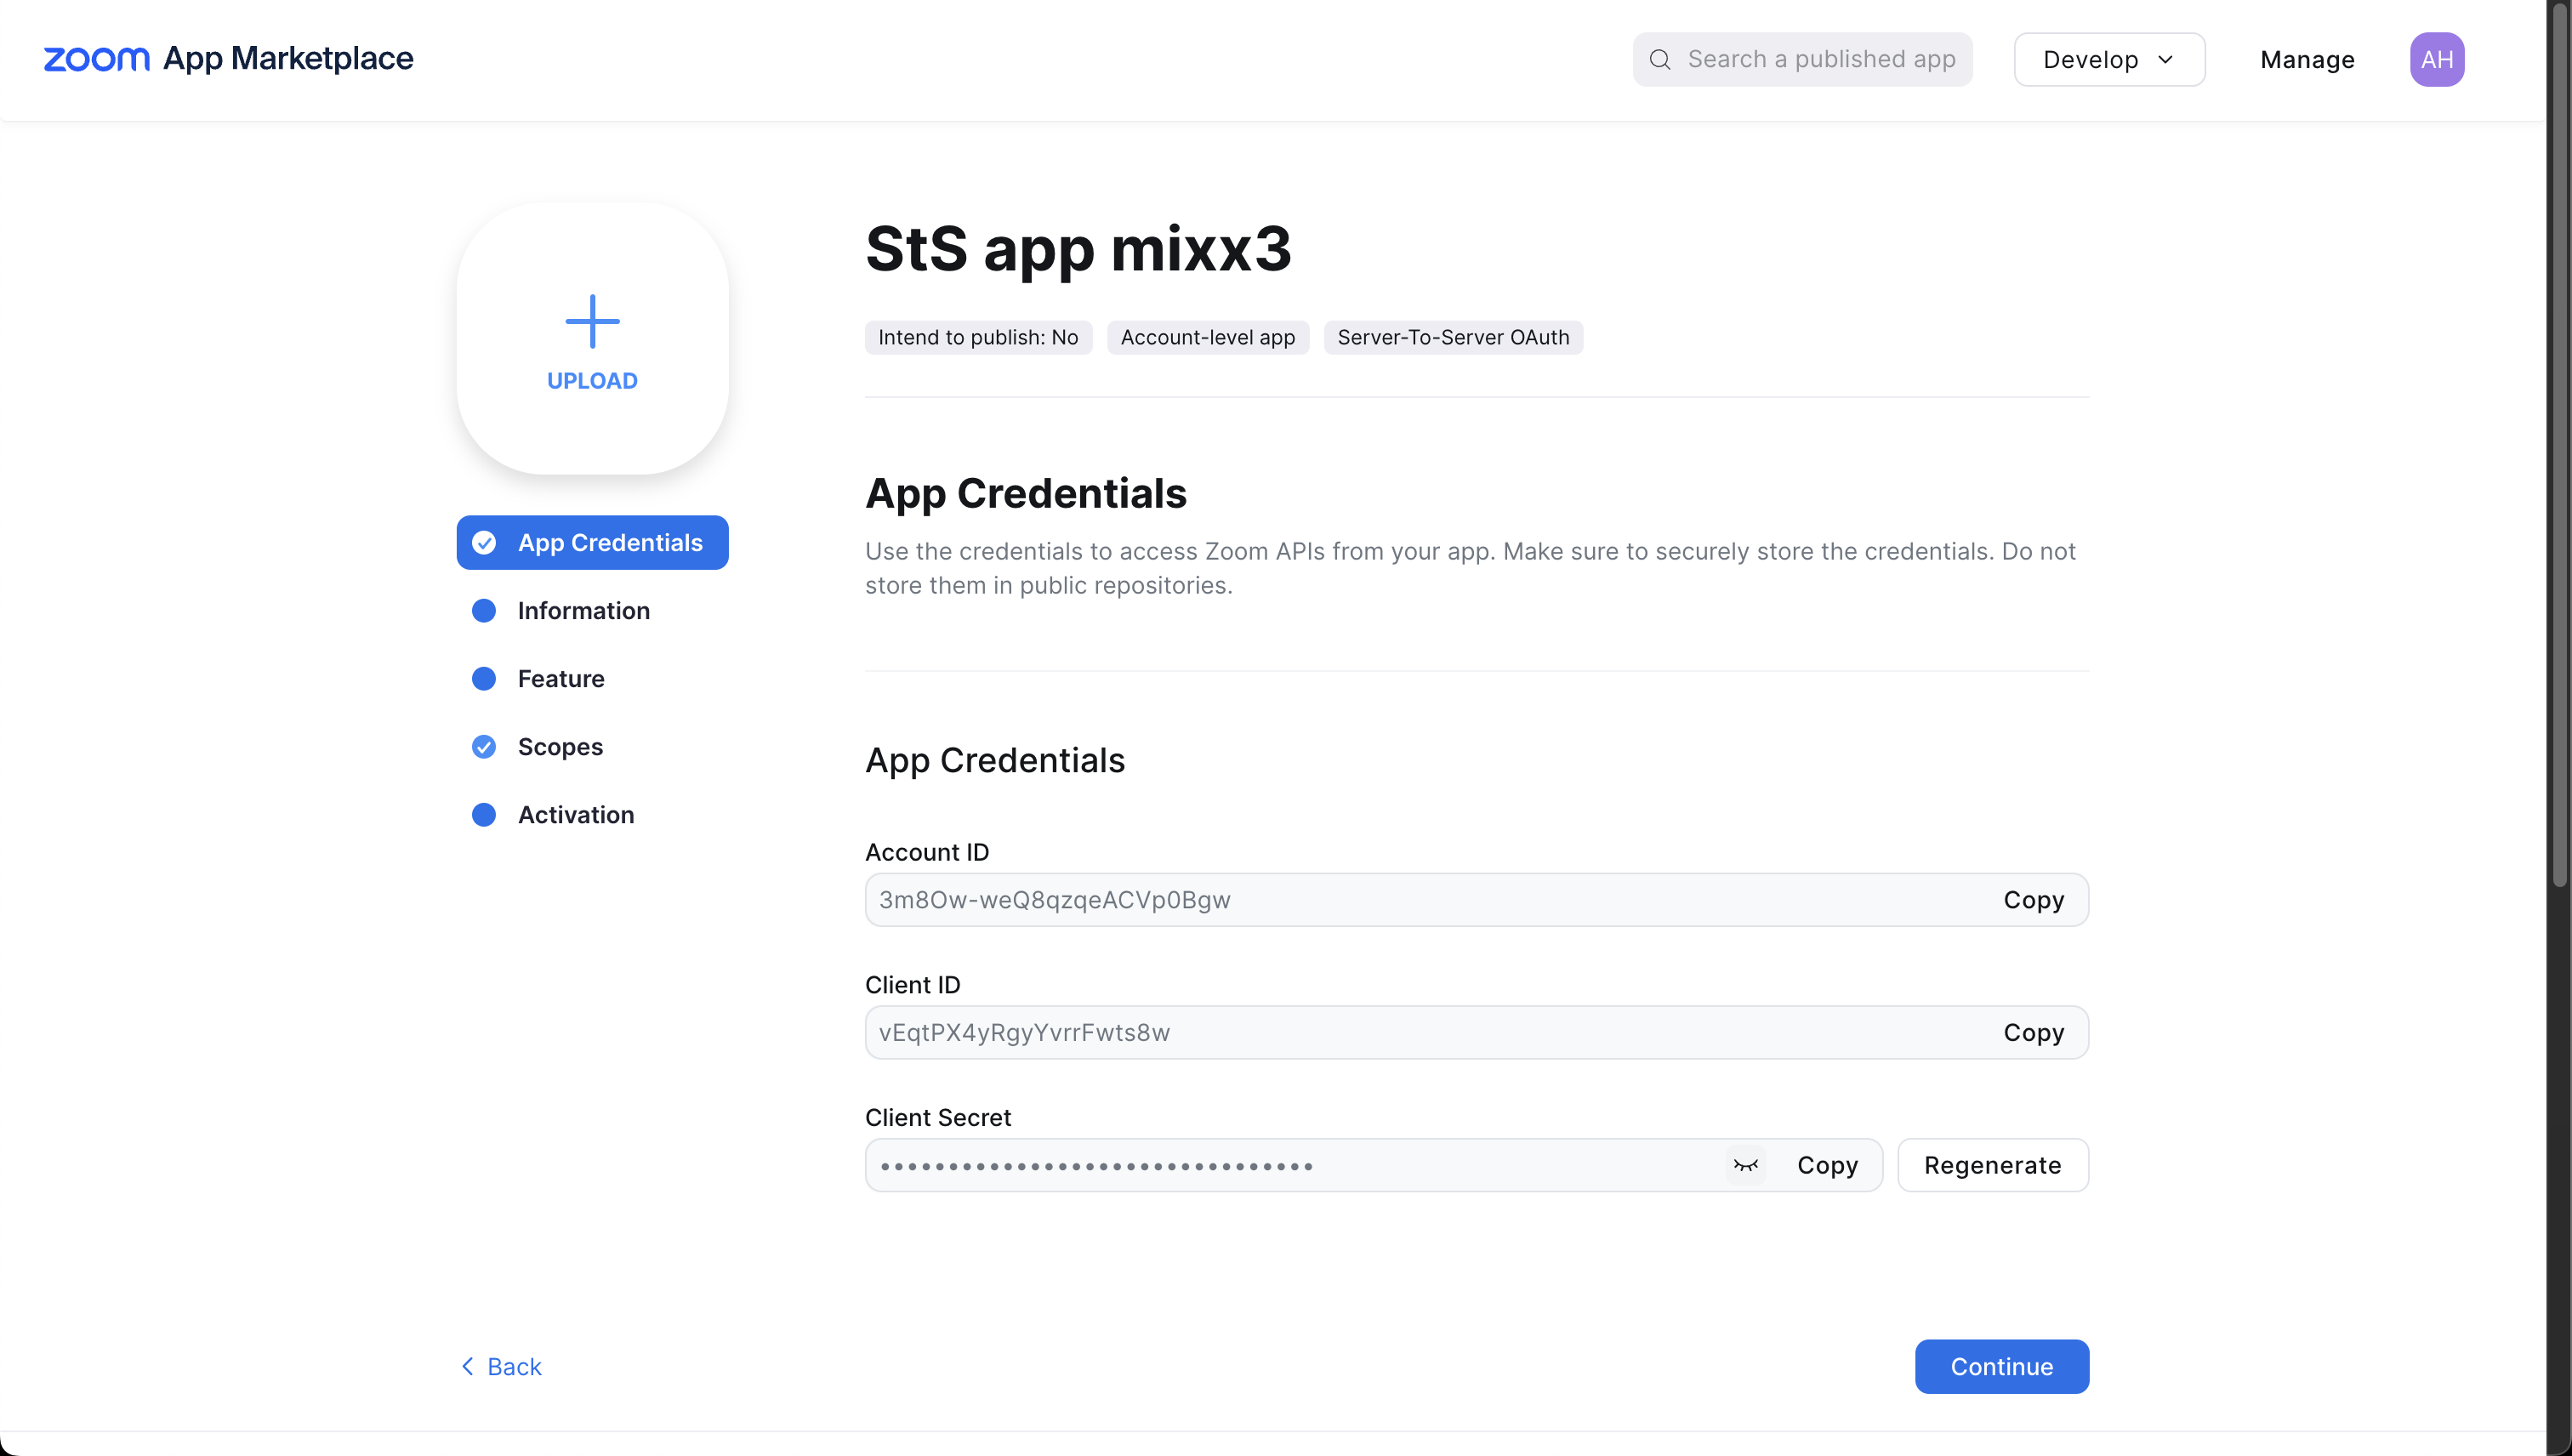
Press continue.
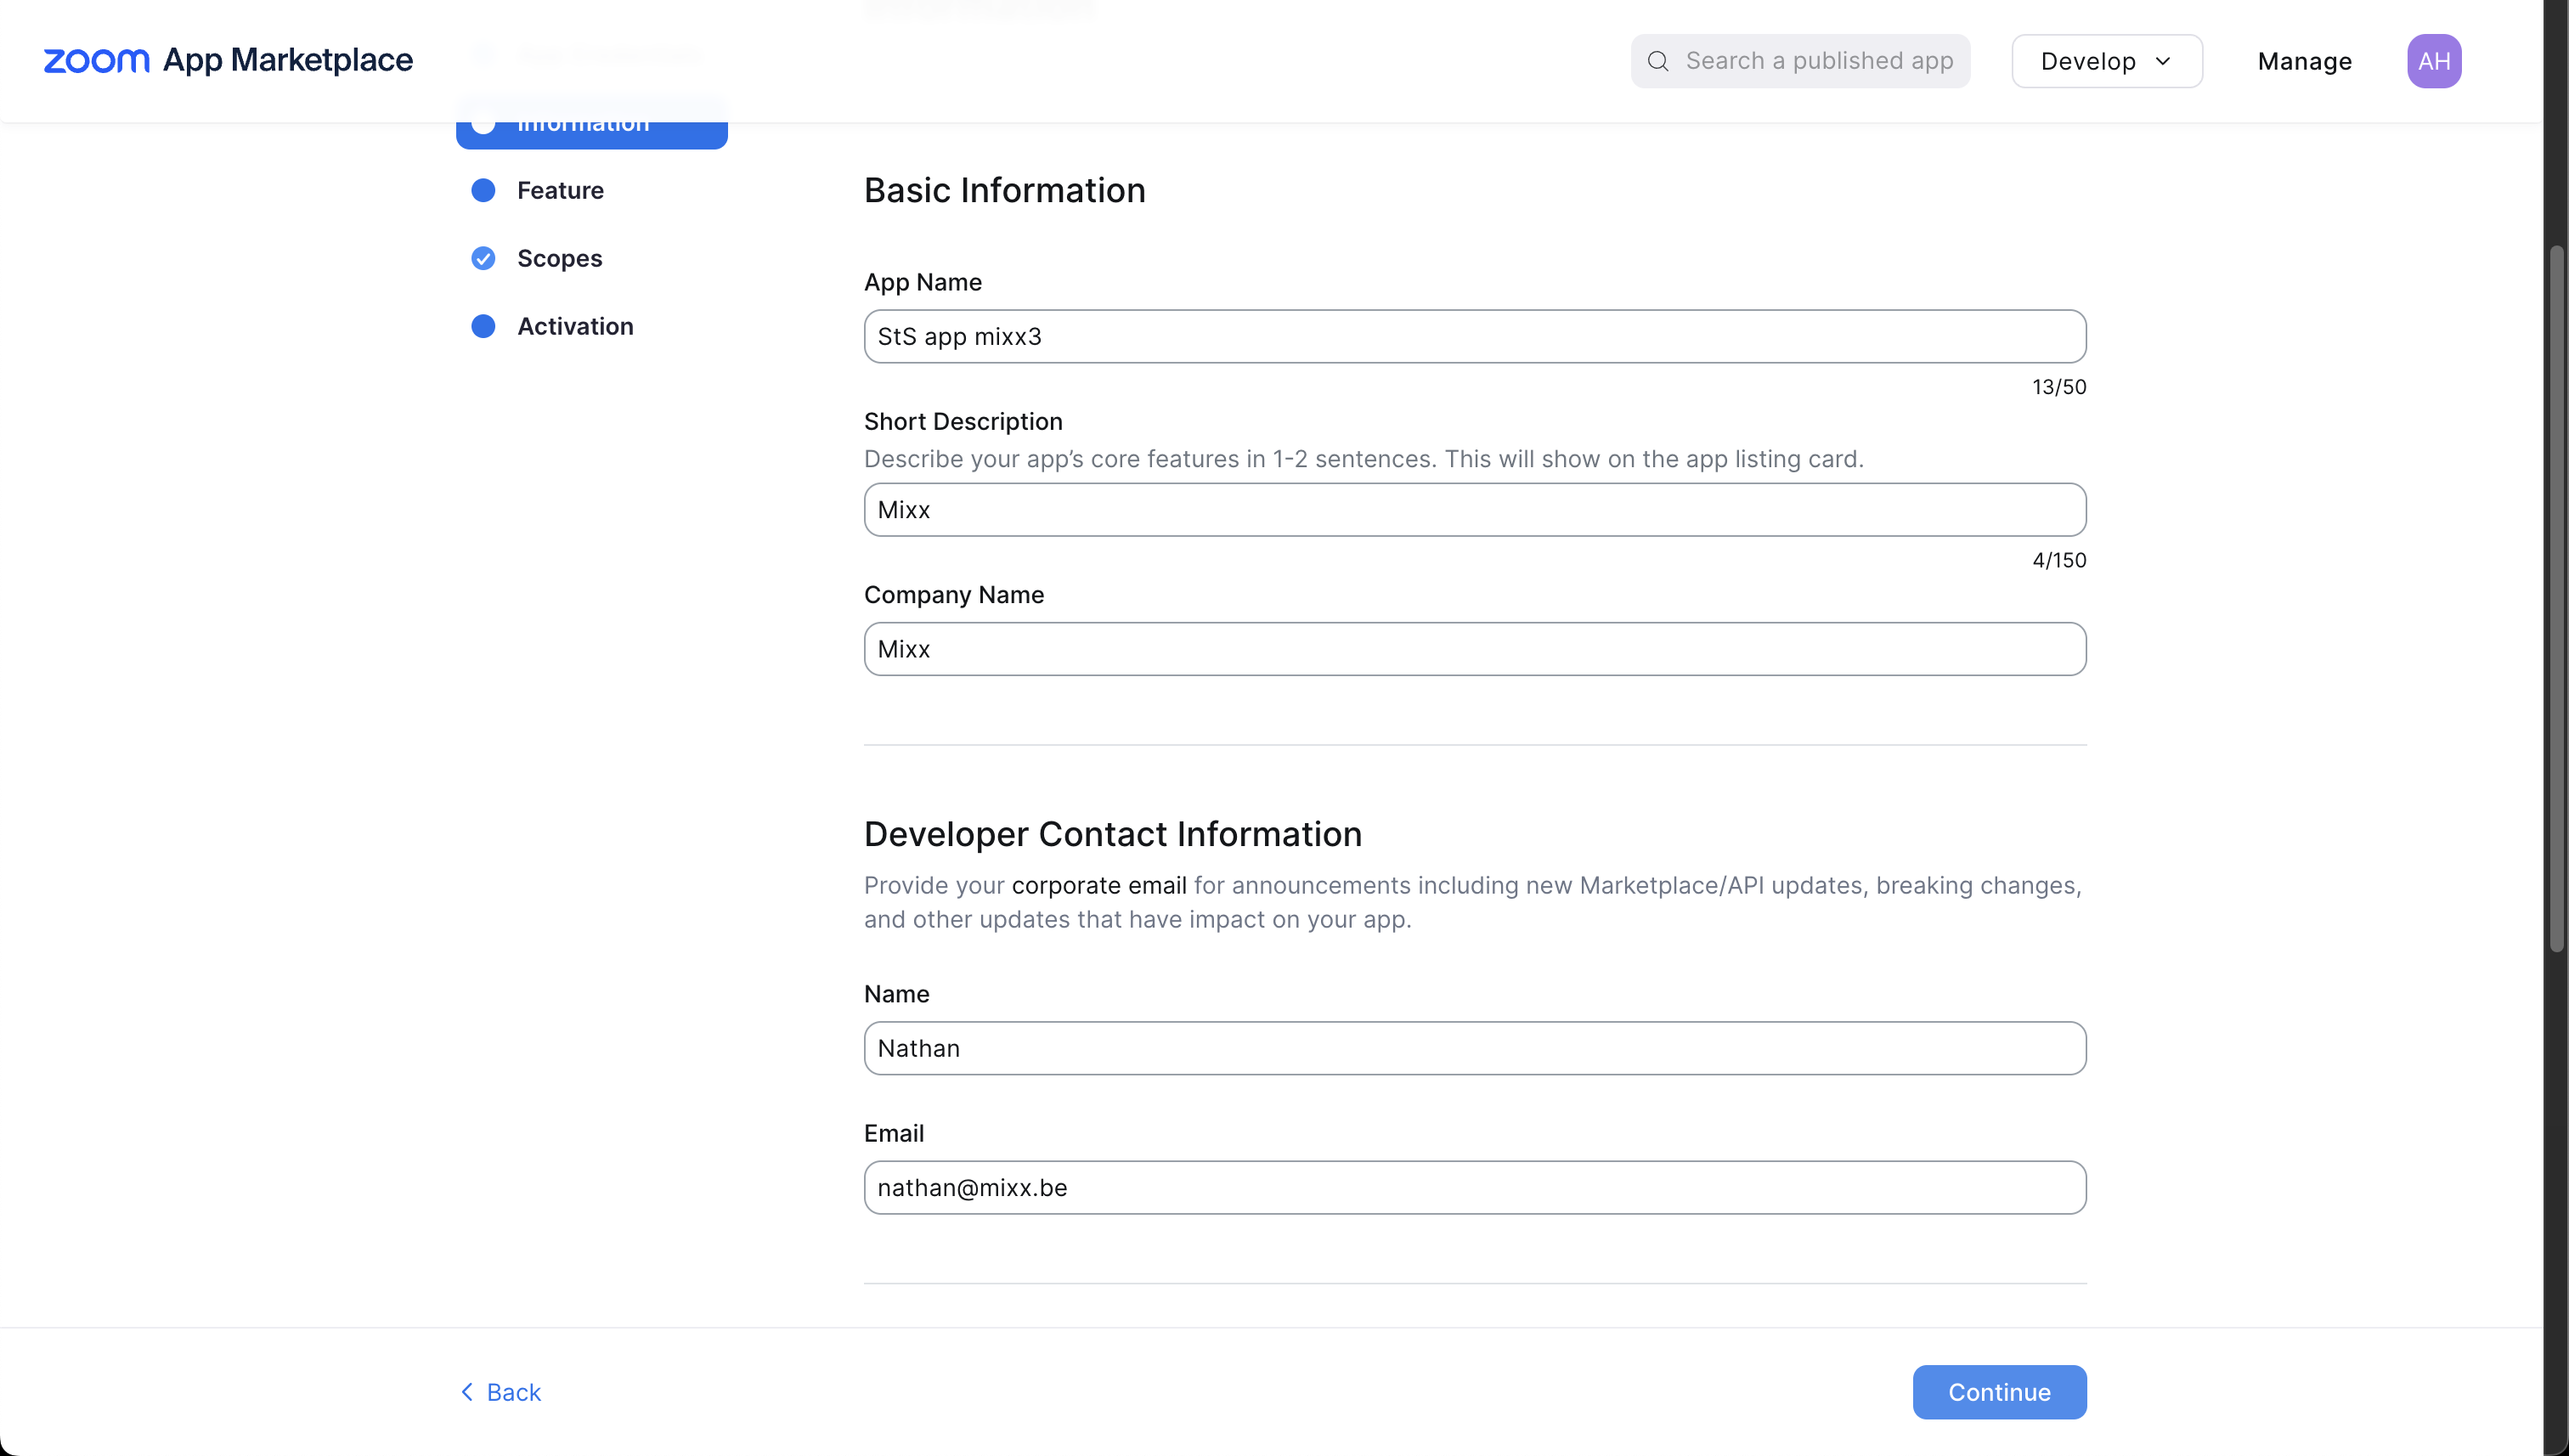
Fill in 'Basic Information' and 'Developer Information'.
Press continue and then continue again, until you are at the 'Scopes' tab.
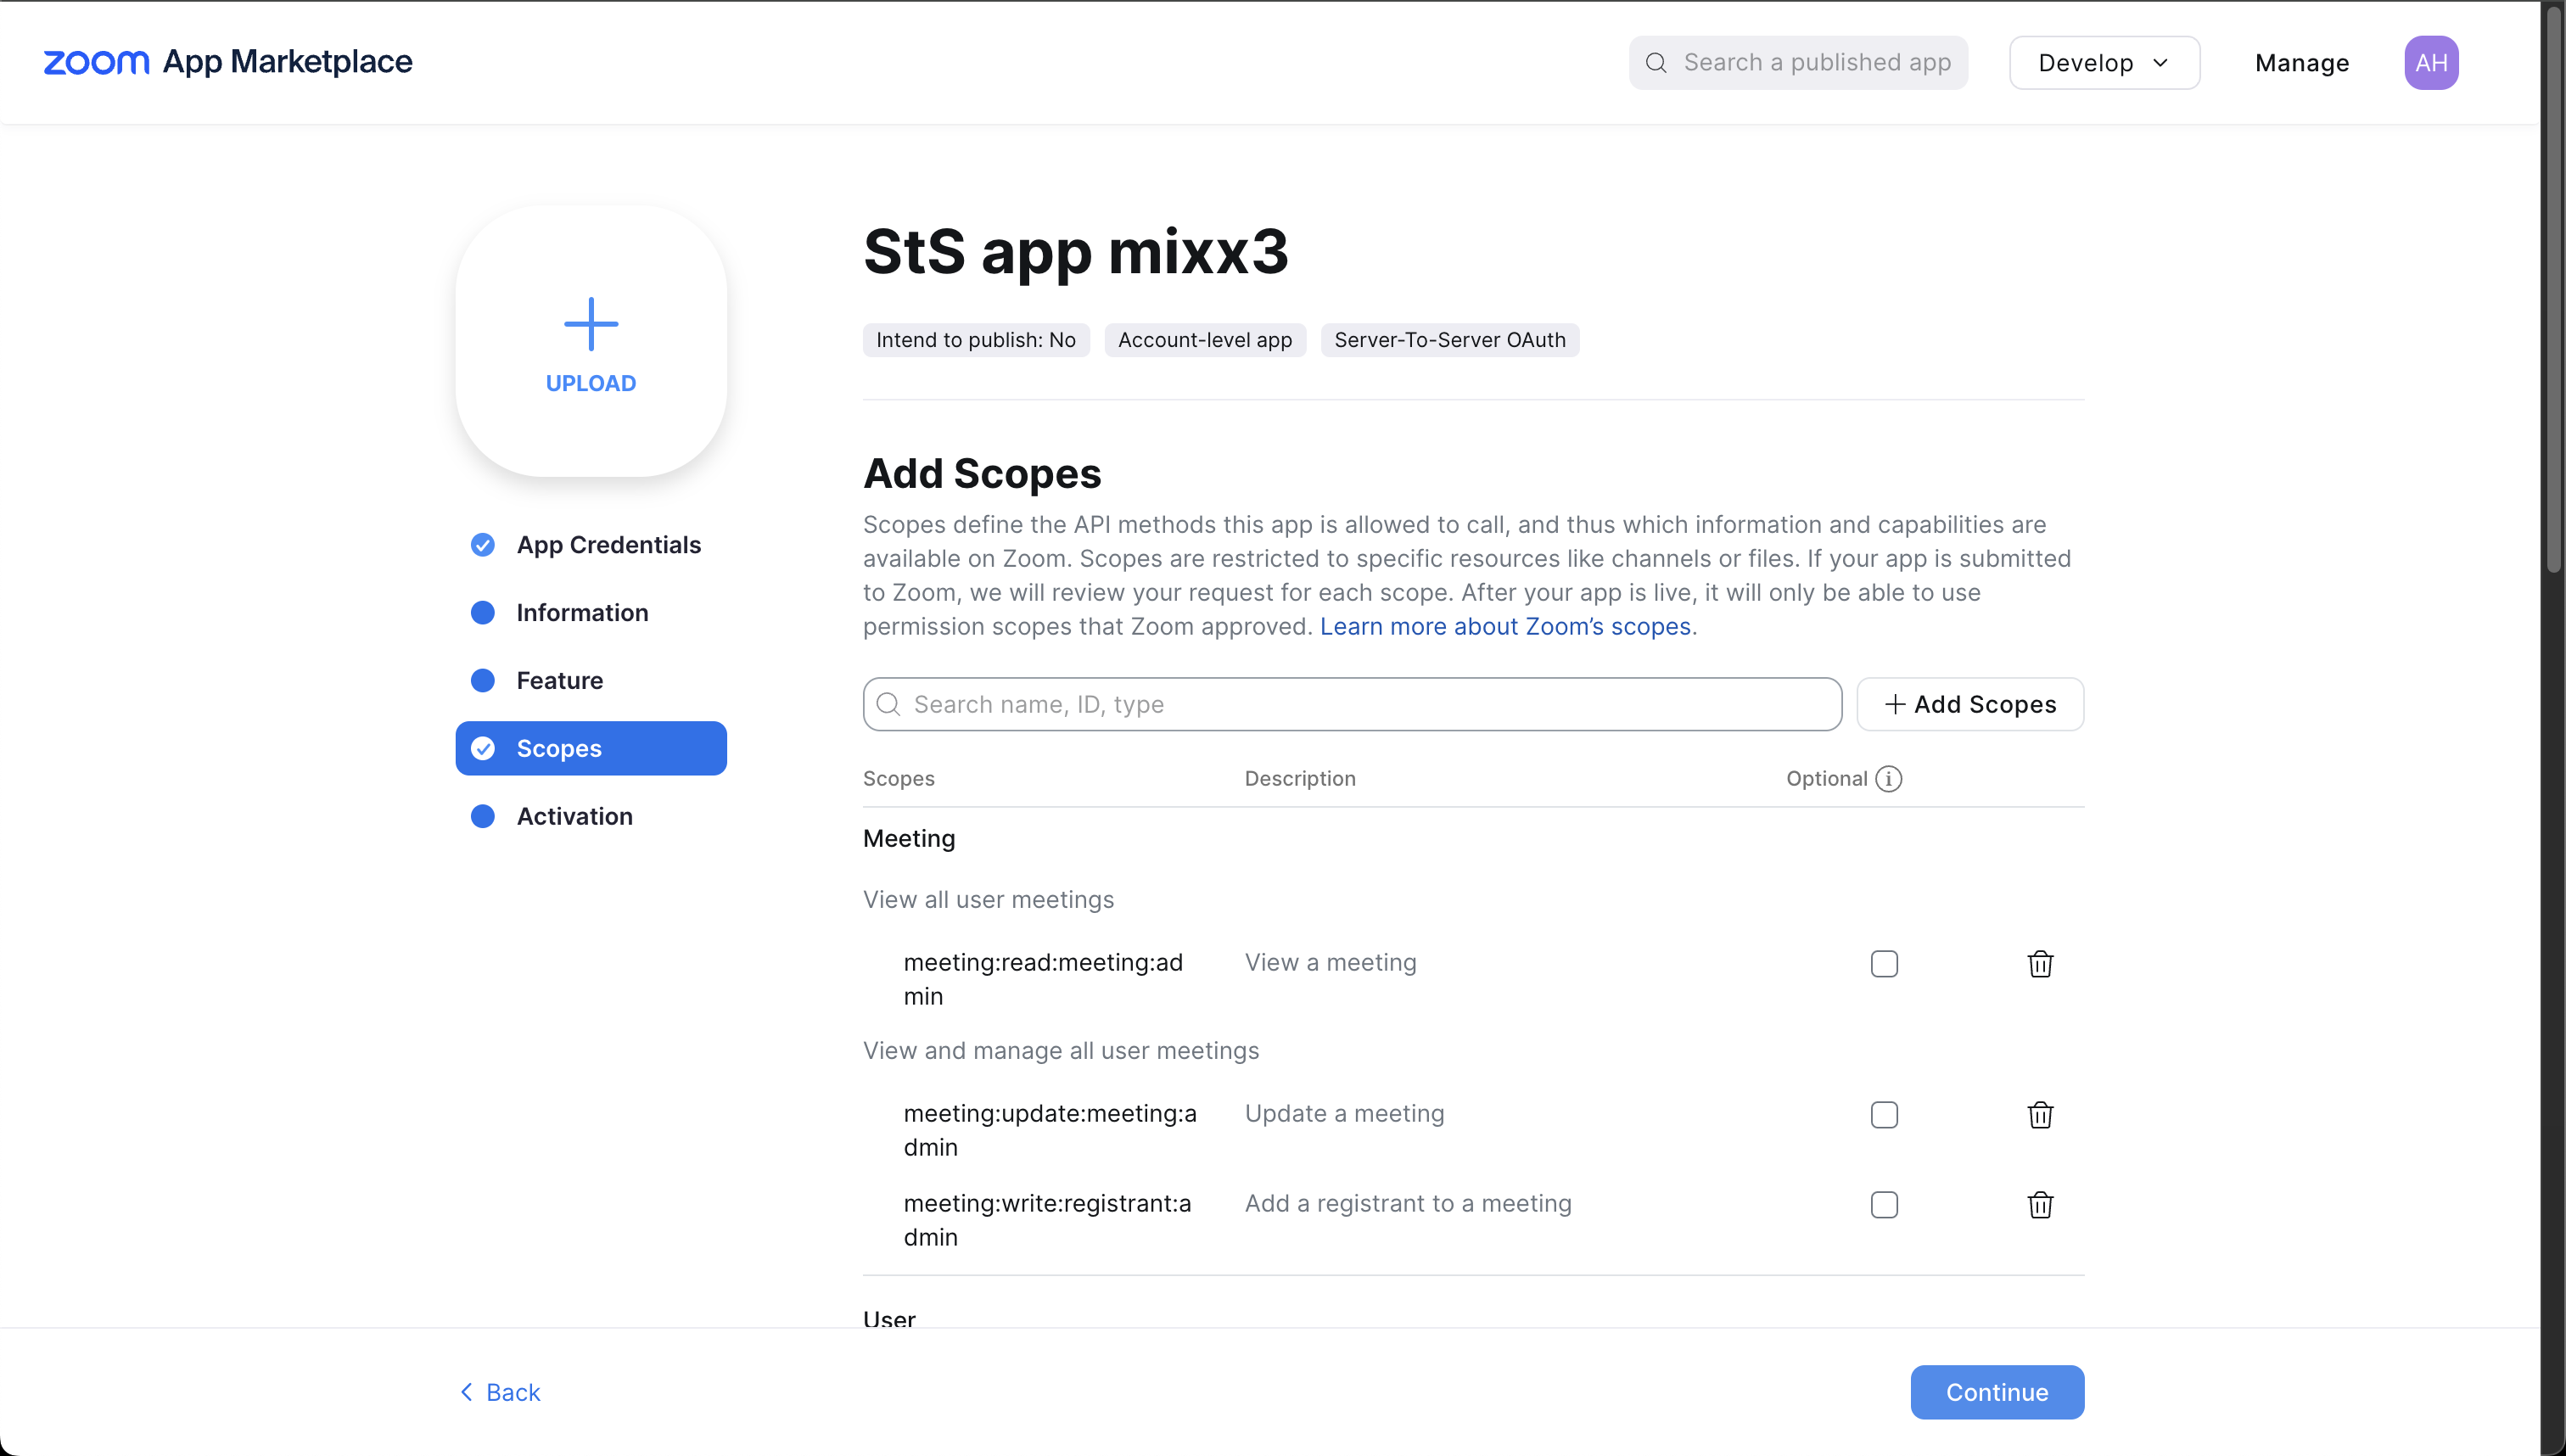
The necessary scopes are:
- meeting:read:meeting:admin
- meeting:read:list_registrants:admin
- meeting:update:meeting:admin
- meeting:write:registration:admin
- user:read:user:admin
- user:write:user:admin
- webinar:read:webinar:admin
- webinar:read:list_registrants:admin
- webinar:read:list_panelist:admin
- webinar:update:webinar:admin
- webinar:write:registrant:admin
Press continue, and 'Activate your app' on the 'Activation' tab.
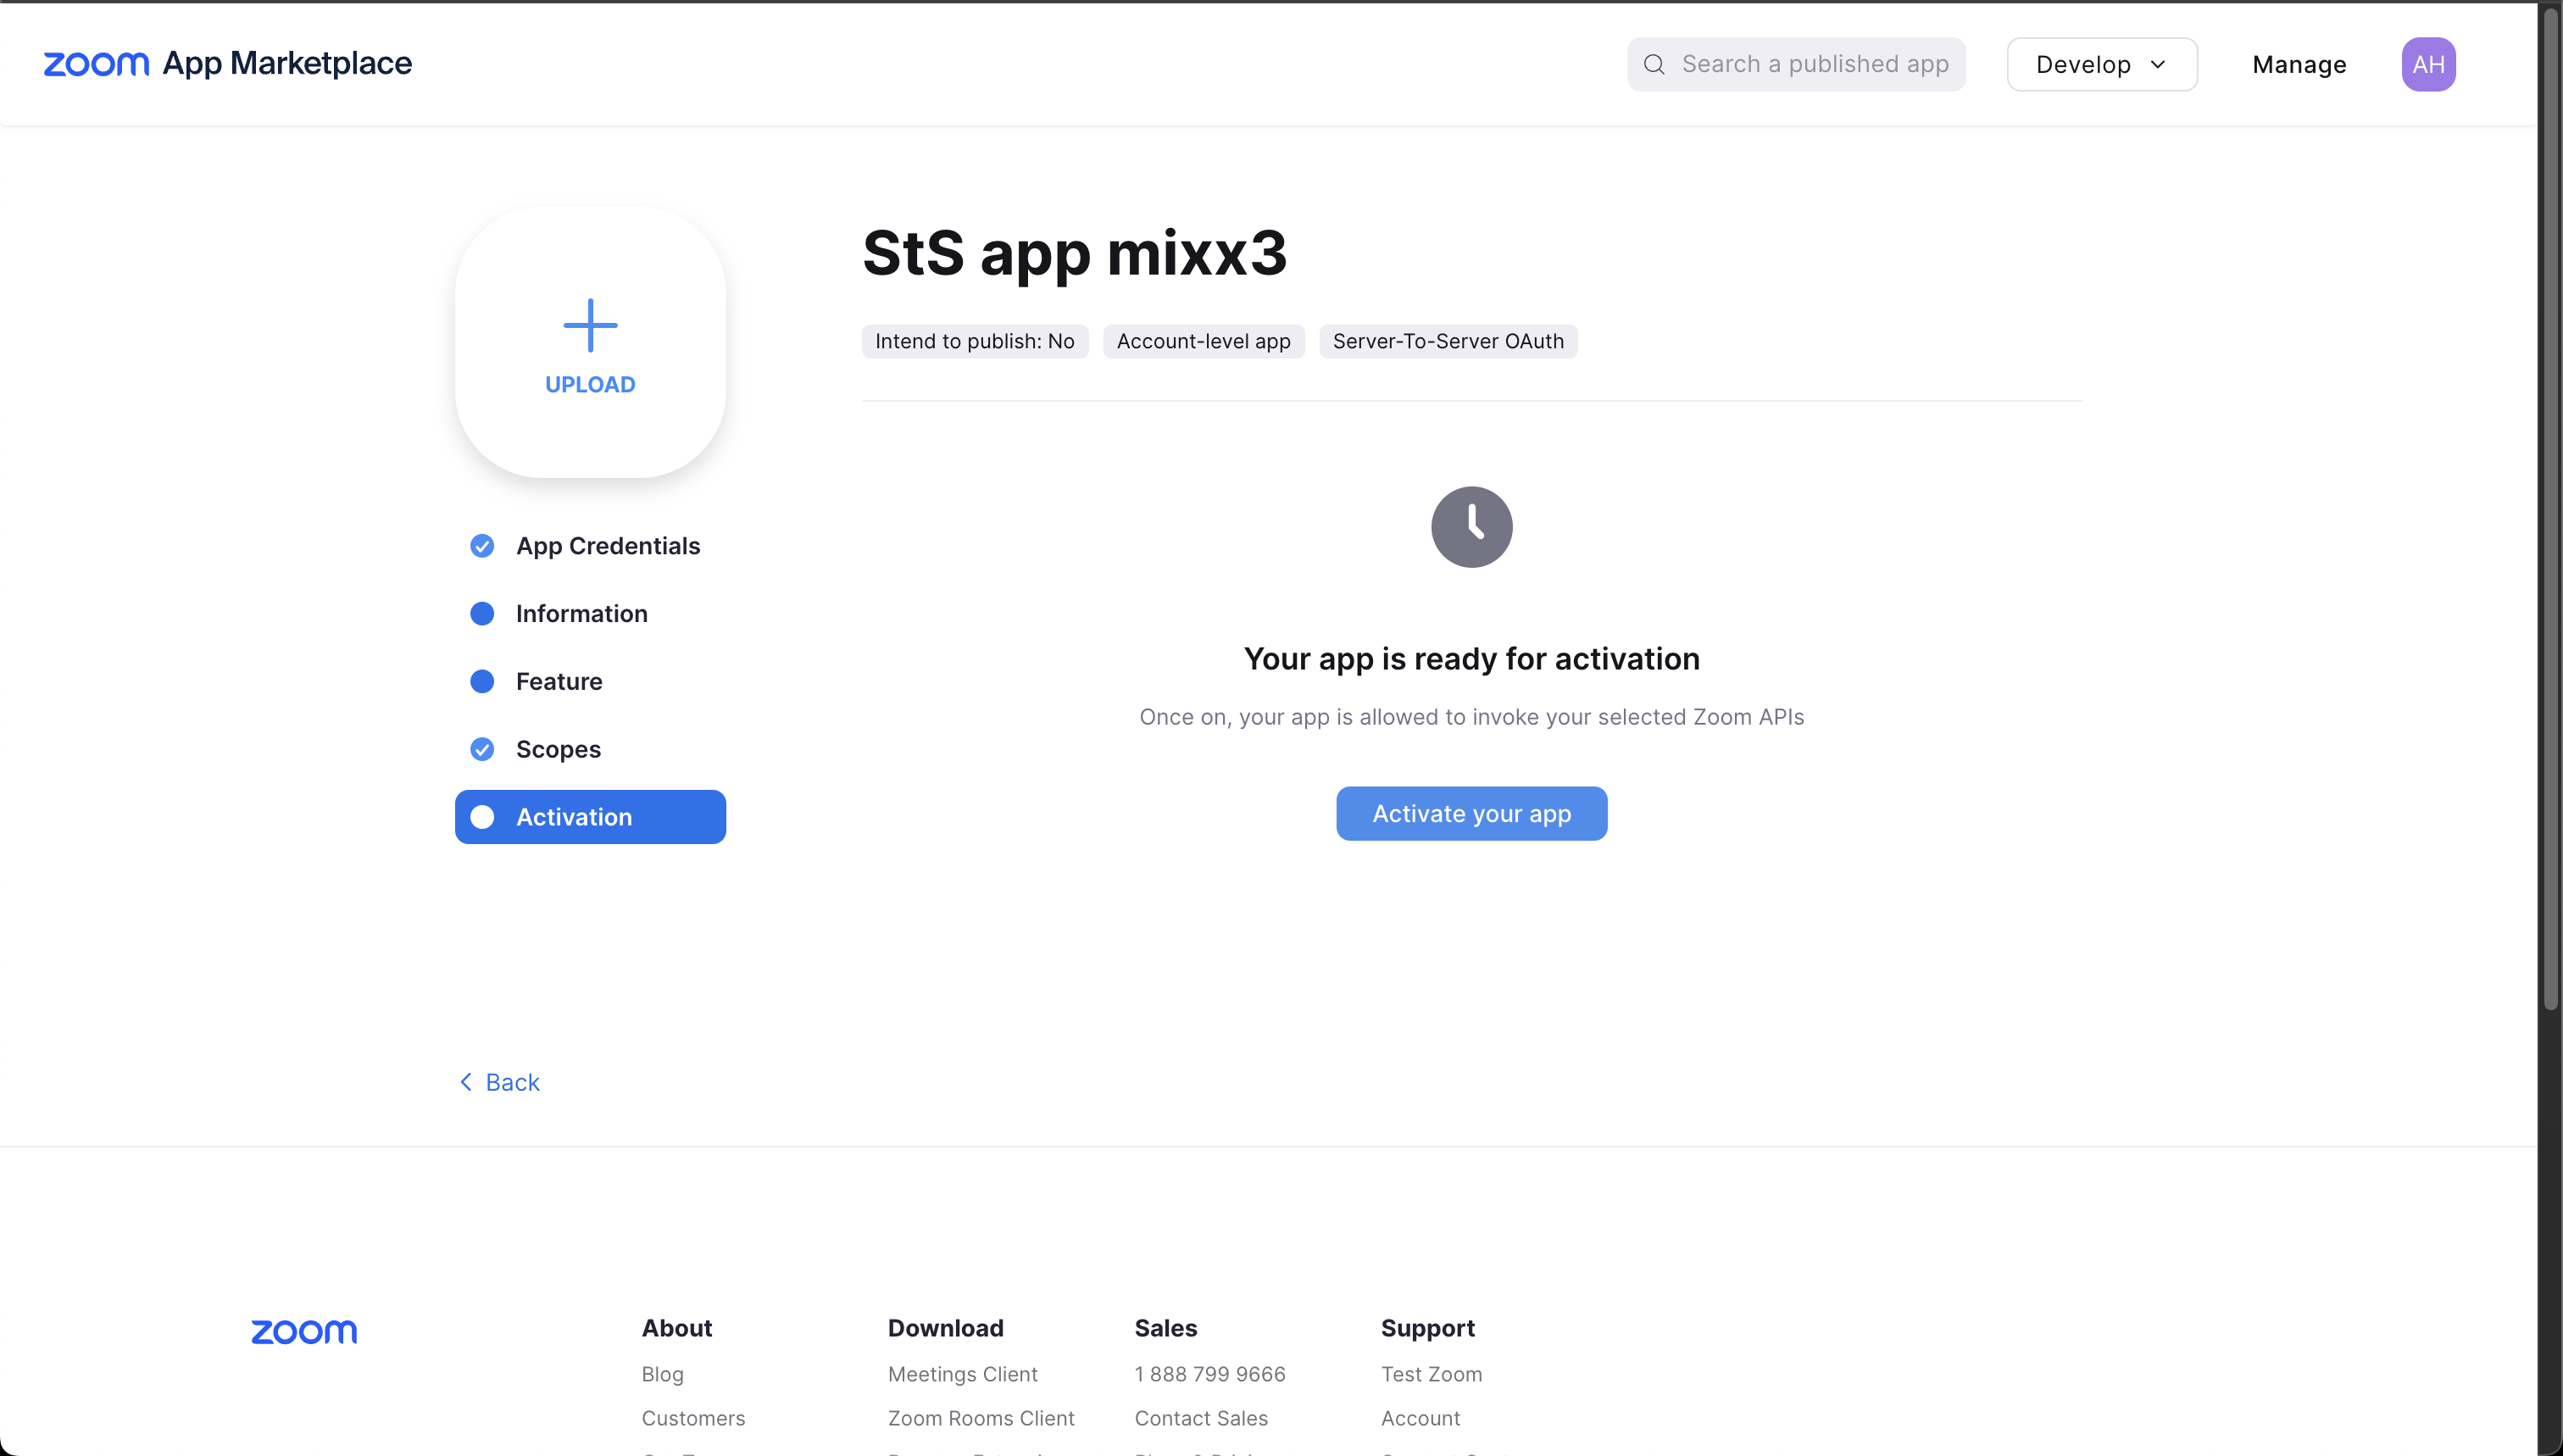
4) Finishing up
Both apps should now be configured.
